🔧 Candle Setup
Overview
Use Candle Setup to define the structure of each candlestick in your pattern.
Here you control:
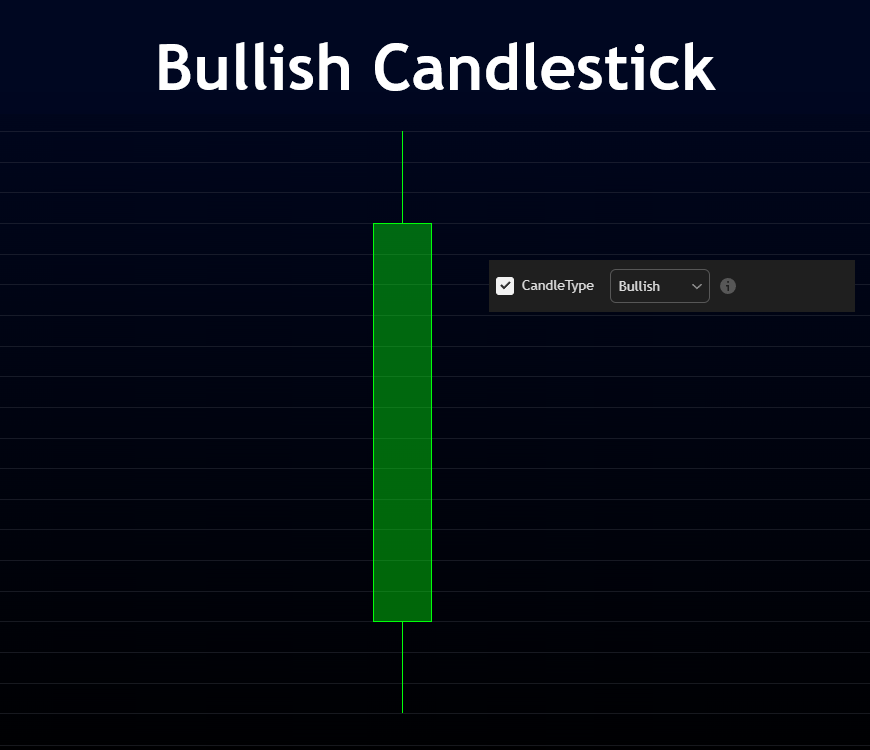
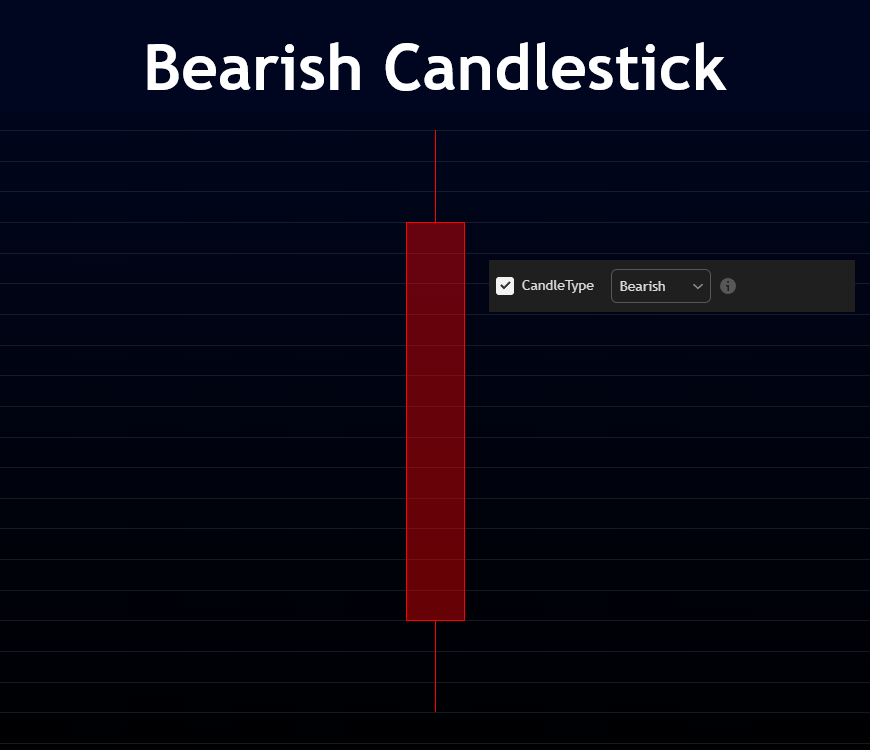
- the type of candlestick (bullish, bearish, or neutral).
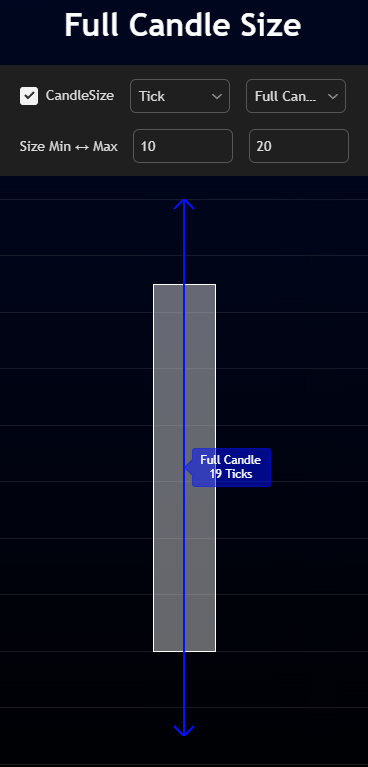
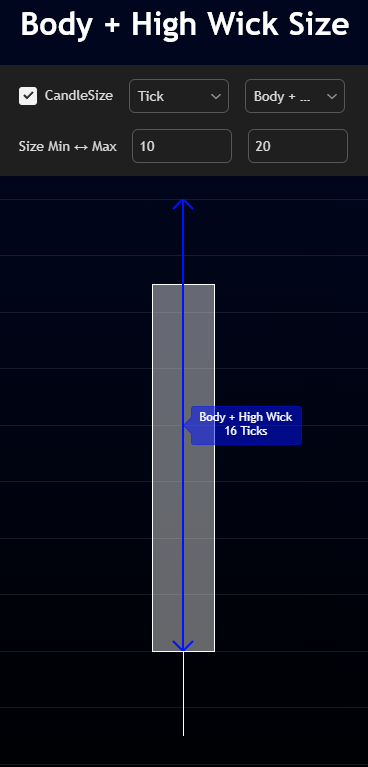
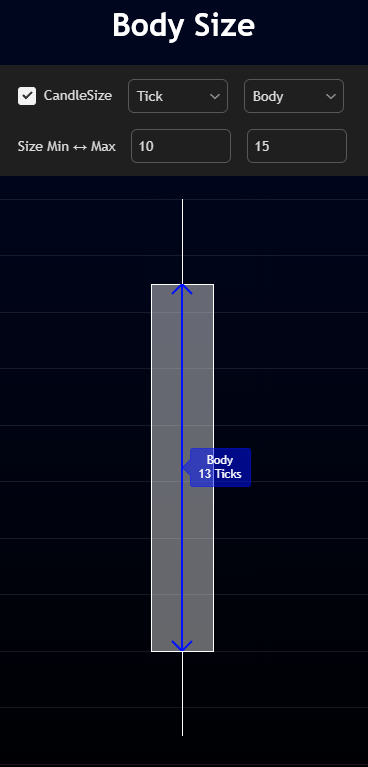
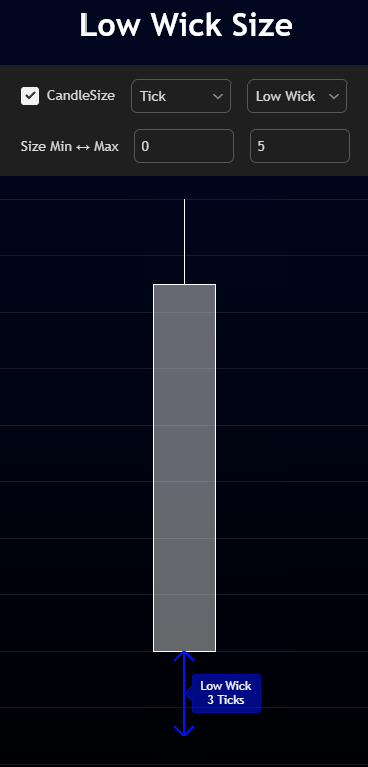
- the candlestick size (measured by %Change, Tick, or Price) and where that size is taken (full candle, body, wick).
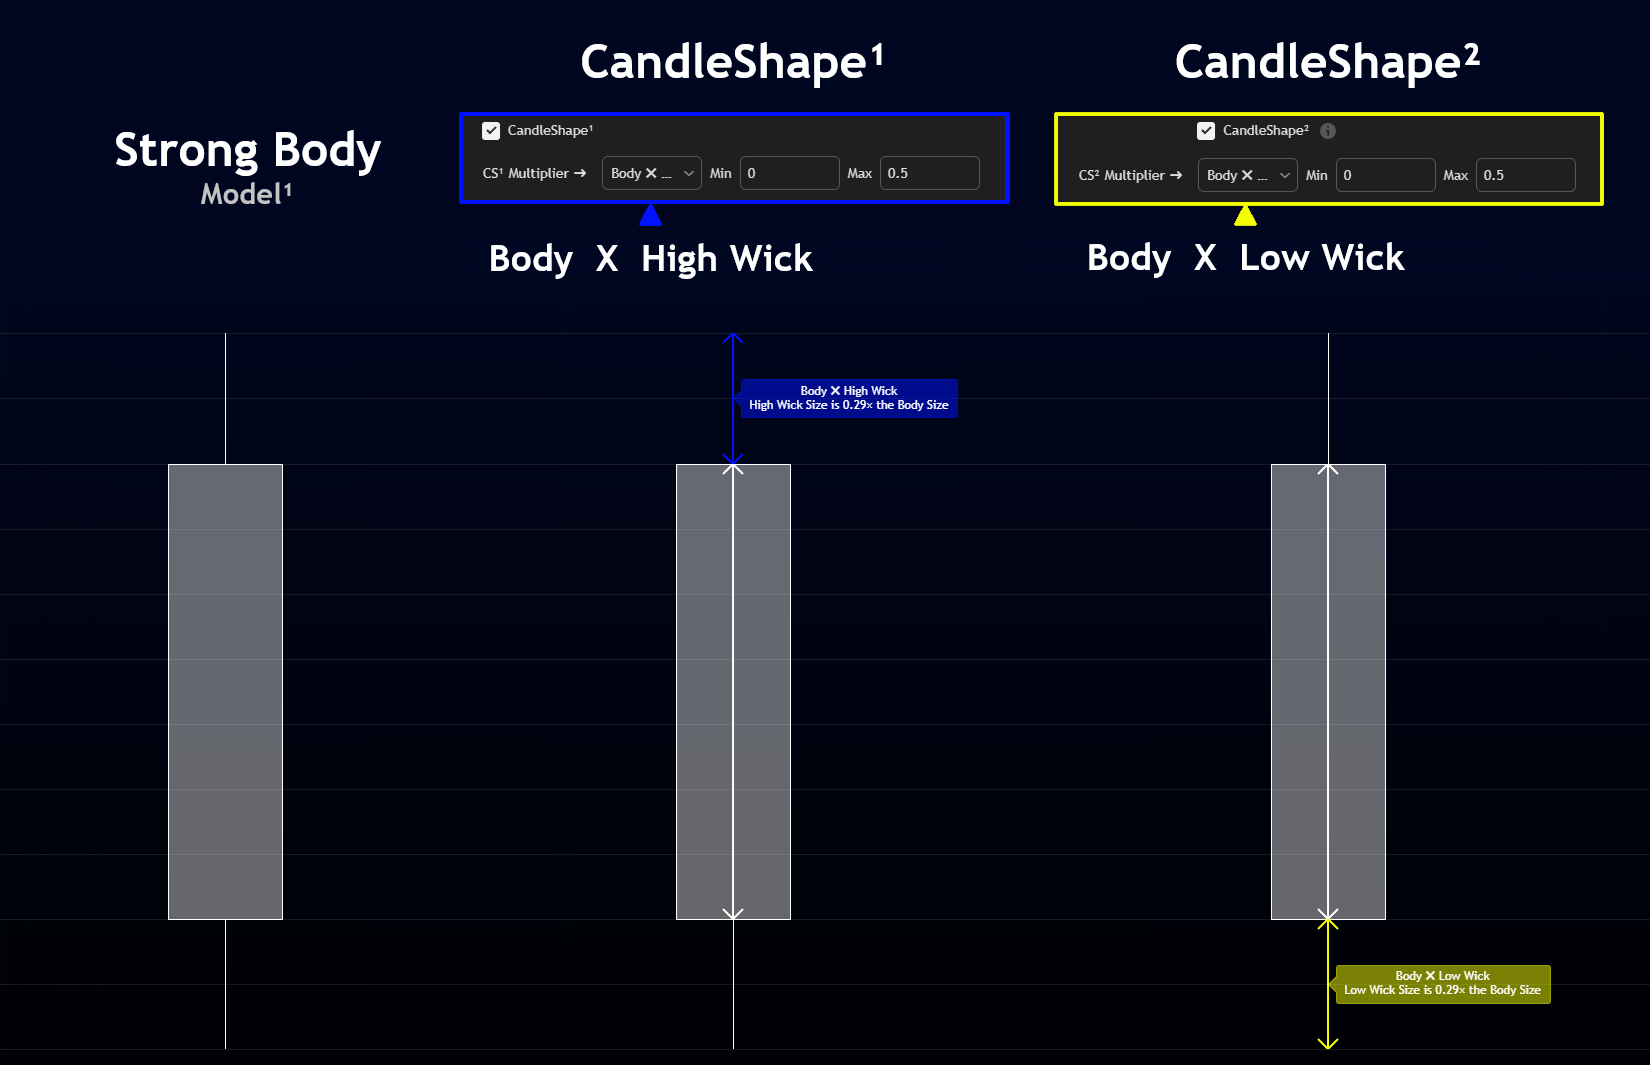
- the candlestick shape (ratio between body and wicks), with one or two ratio checks to build any type of candlesticks such as Harami, Doji, Shooting Star and many others.
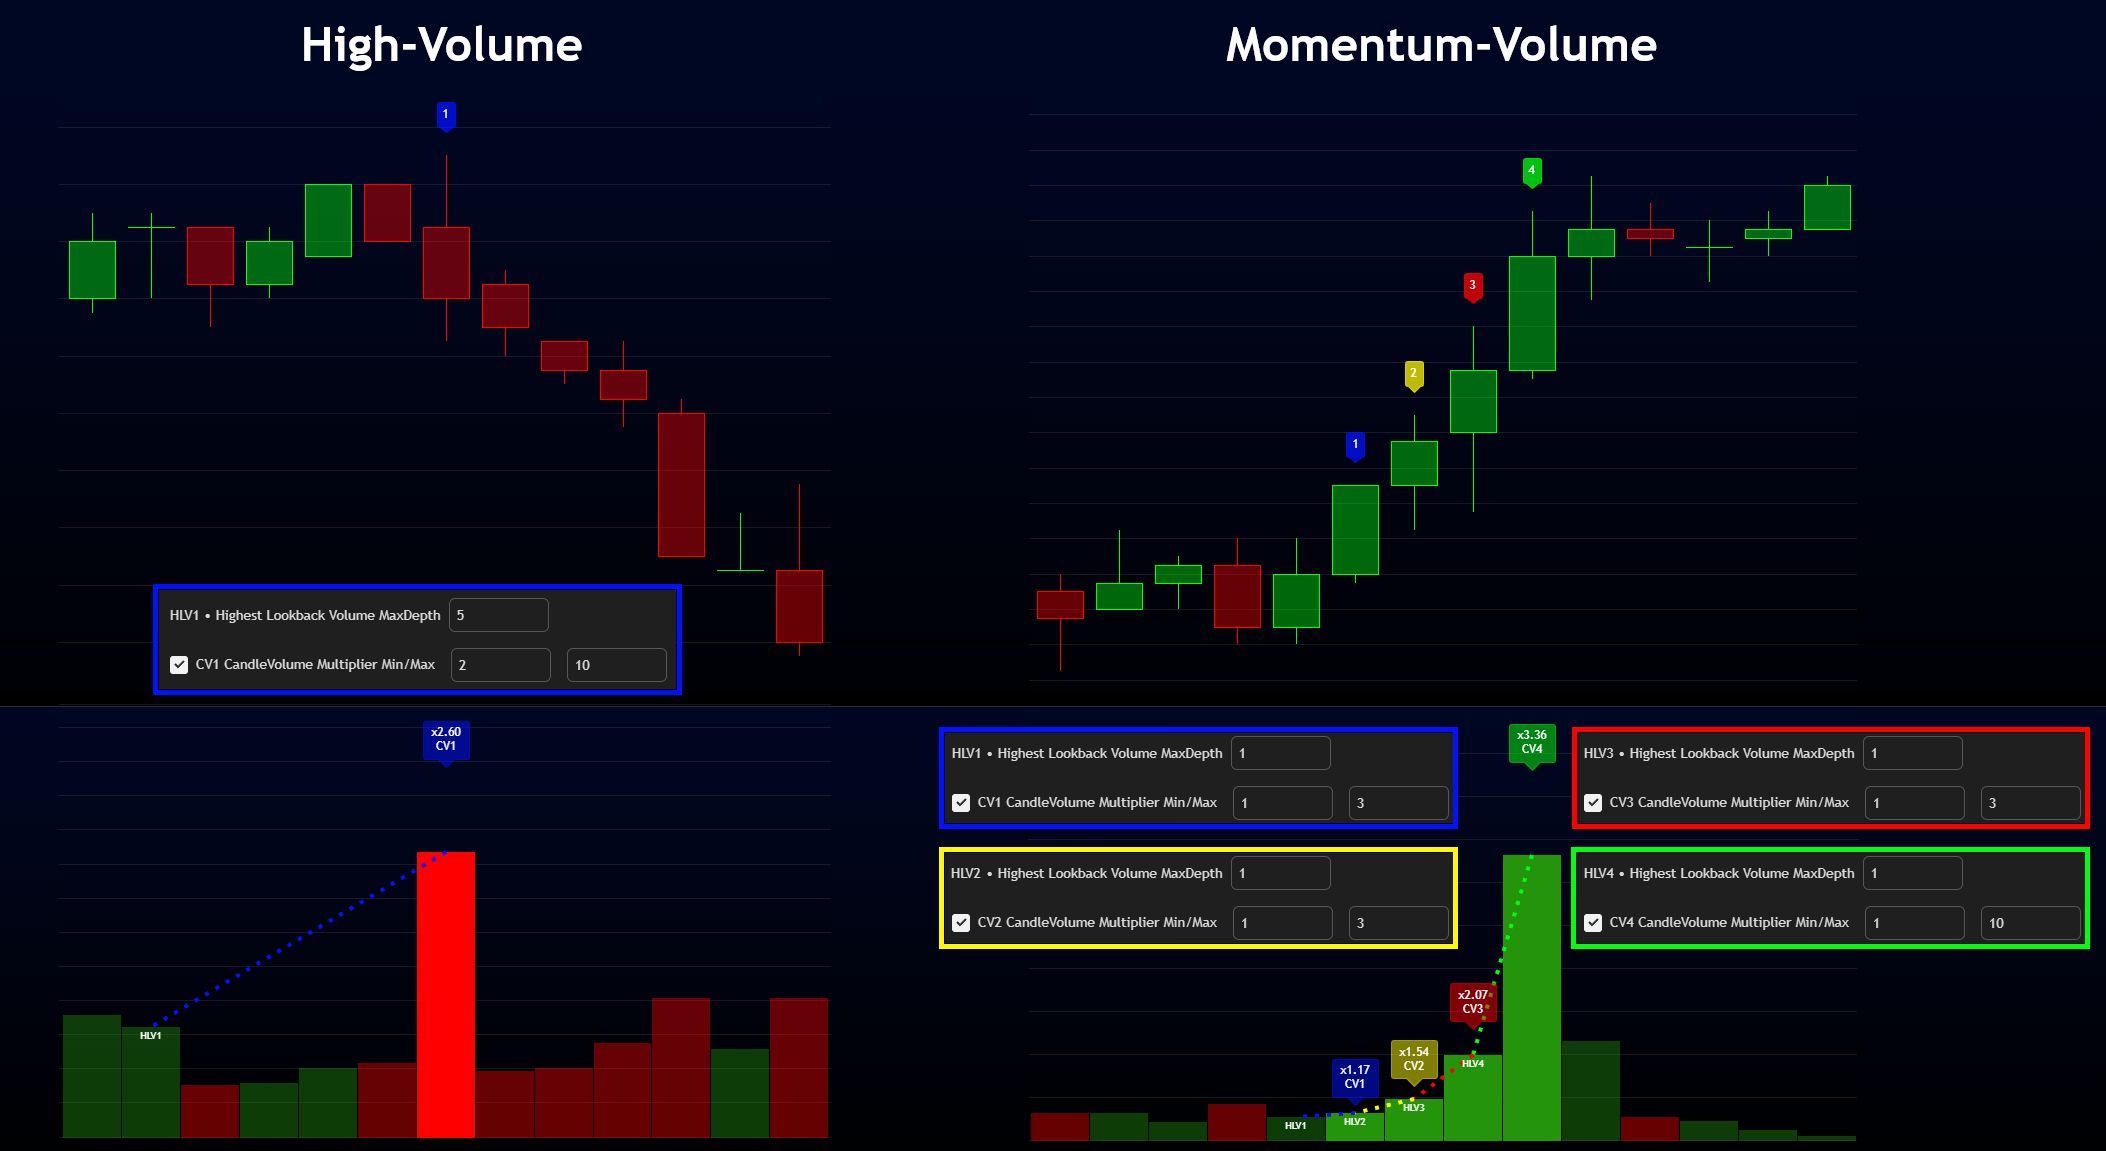
- and an optional volume-multiplier constraint to target strong-volume candlesticks or successive momentum-volume candlesticks.
CandleType
Choose whether a candle is treated as Bullish or Bearish — or left Neutral.
- ☑ Checked Bullish → Close above Open.
- ☑ Checked Bearish → Close below Open.
- ☒ Unchecked → Neutral (no direction constraint; the candle may act bullish or bearish).
With neutral candles, prefer Top Body Price and Bottom Body Price as references in other parameters to keep detection flexible.
Top Body Price = Close if it's a bullish candle / Open if it's a bearish candle.
Bottom Body Price = Open if it's a bullish candle / Close if it's a bearish candle.
CandleSize
CandleSize defines how big or small a candlestick must be, using either %Change, Tick or Price measurement. You can apply this filter to specific areas like the Full Candle, Body only, or Wick only — or even combine them for advanced structure filtering.
- Type: %Change, Tick, or Price.
- Area: Full Candle / Body / High Wick / Low Wick / Body + High Wick / Body + Low Wick.
CandleShape¹ & CandleShape²
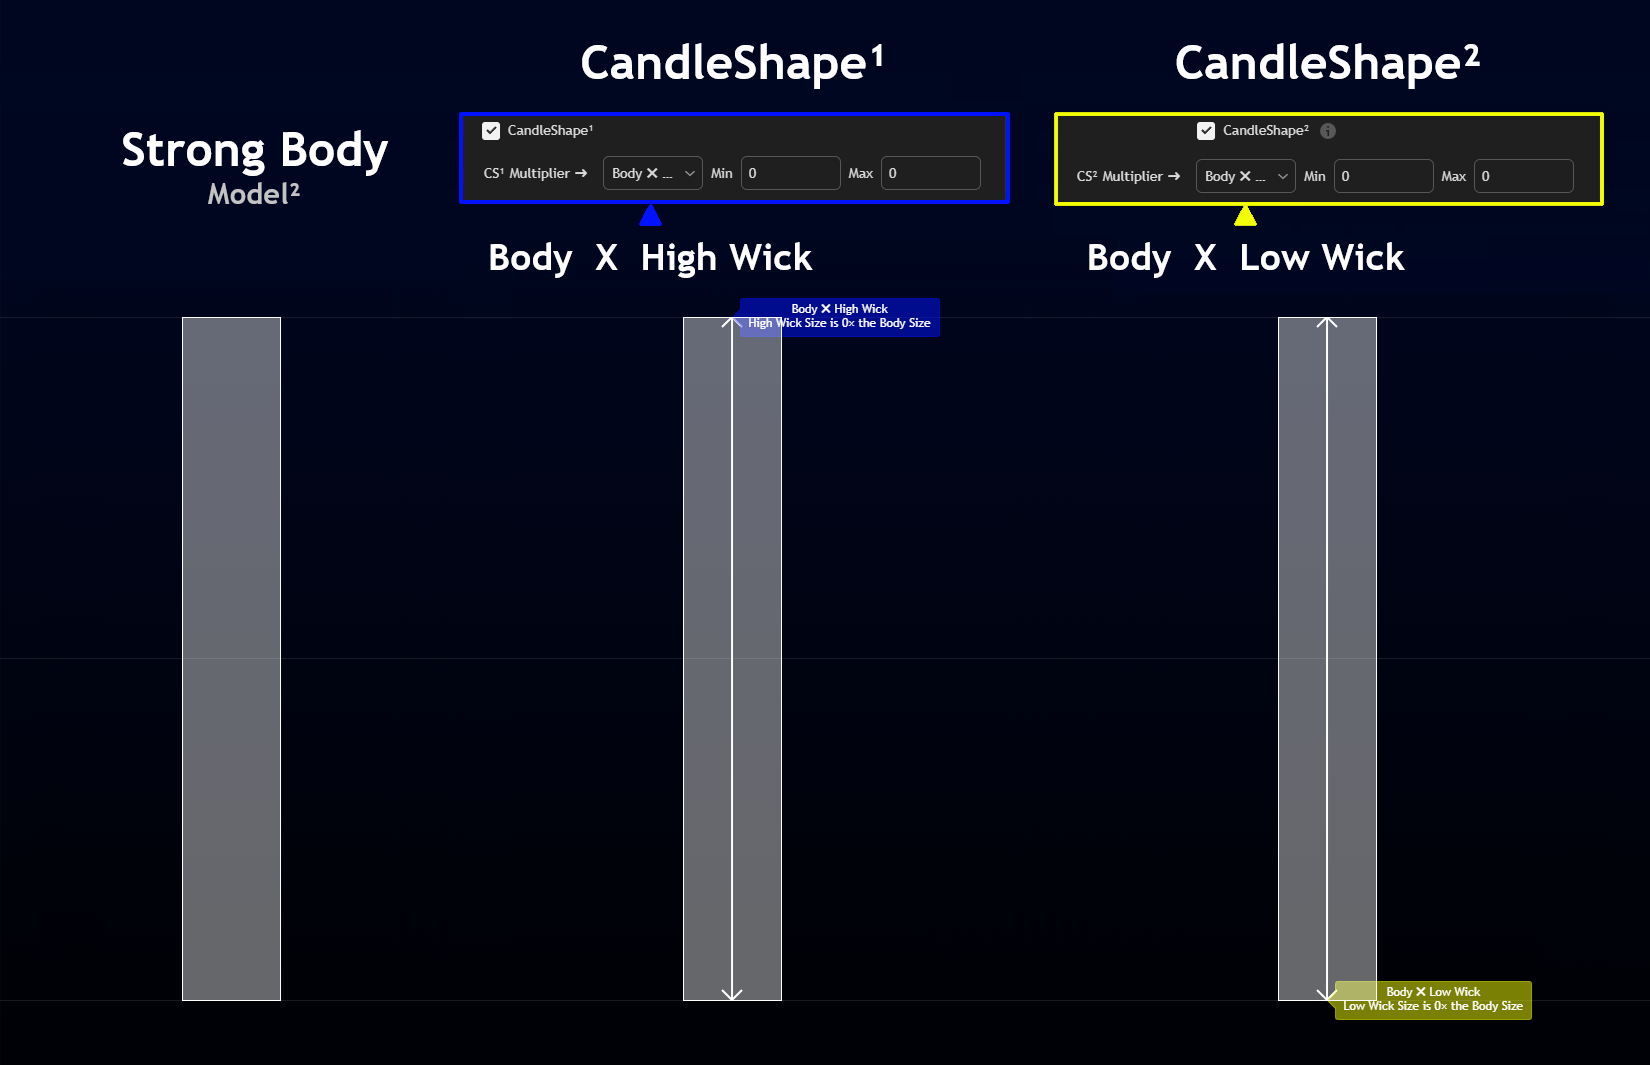
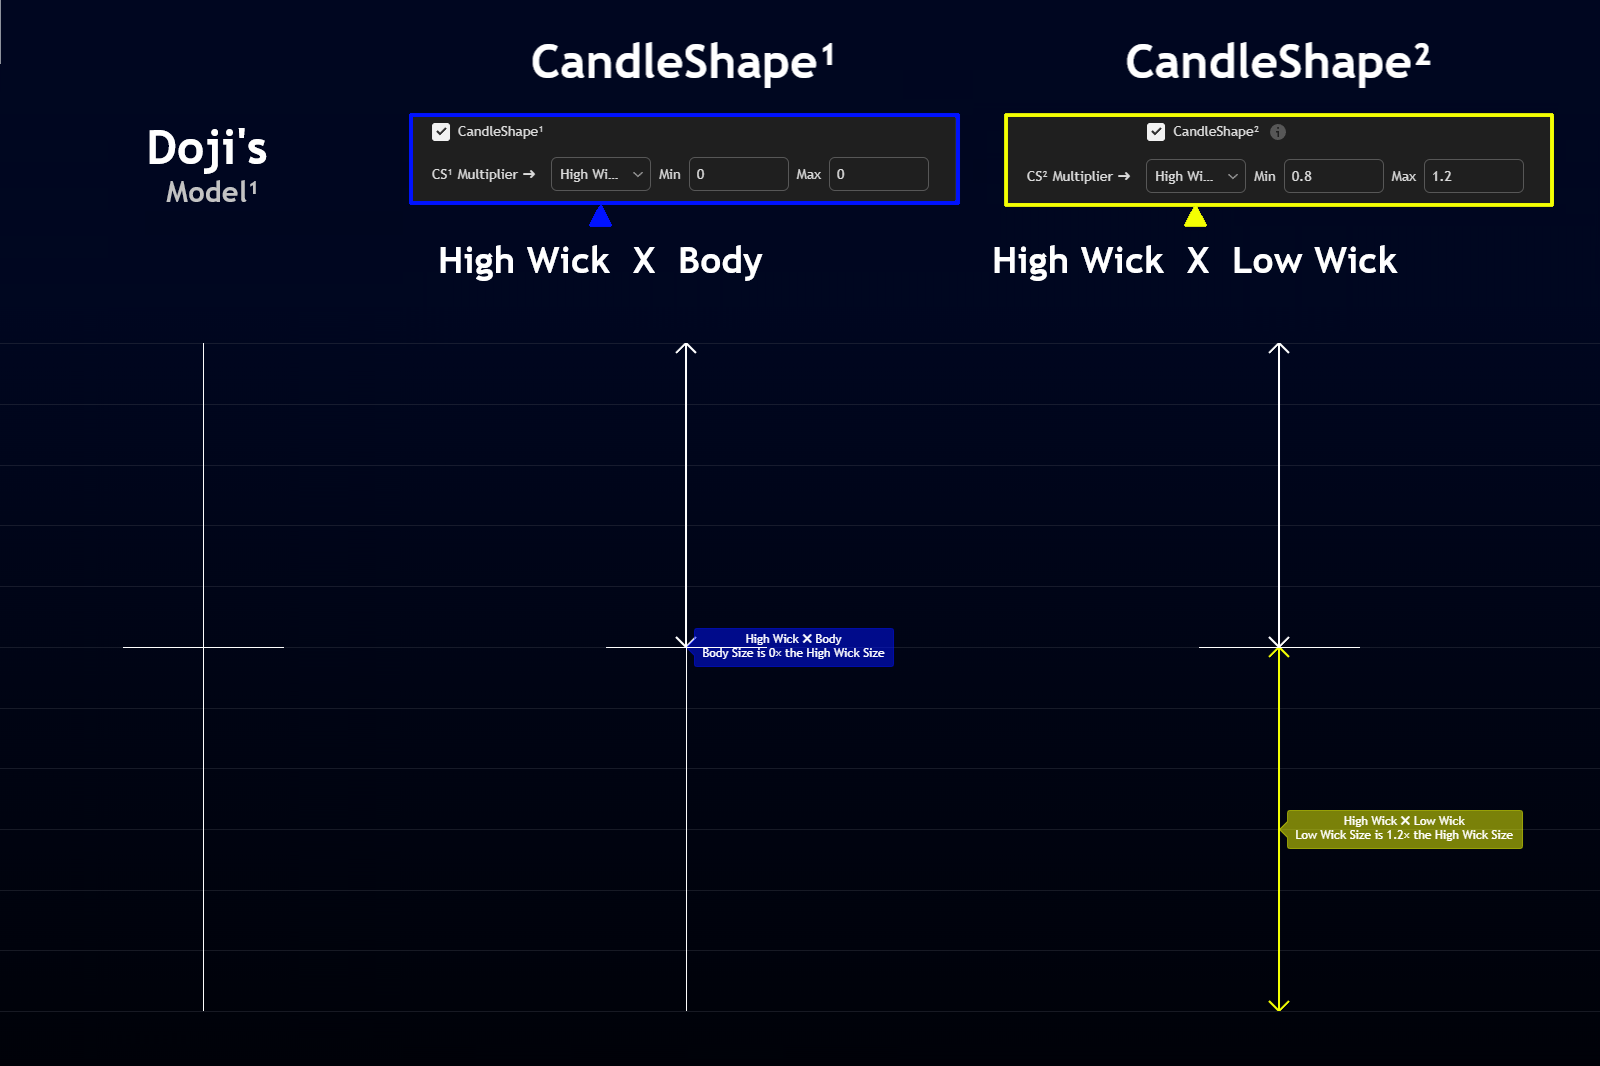
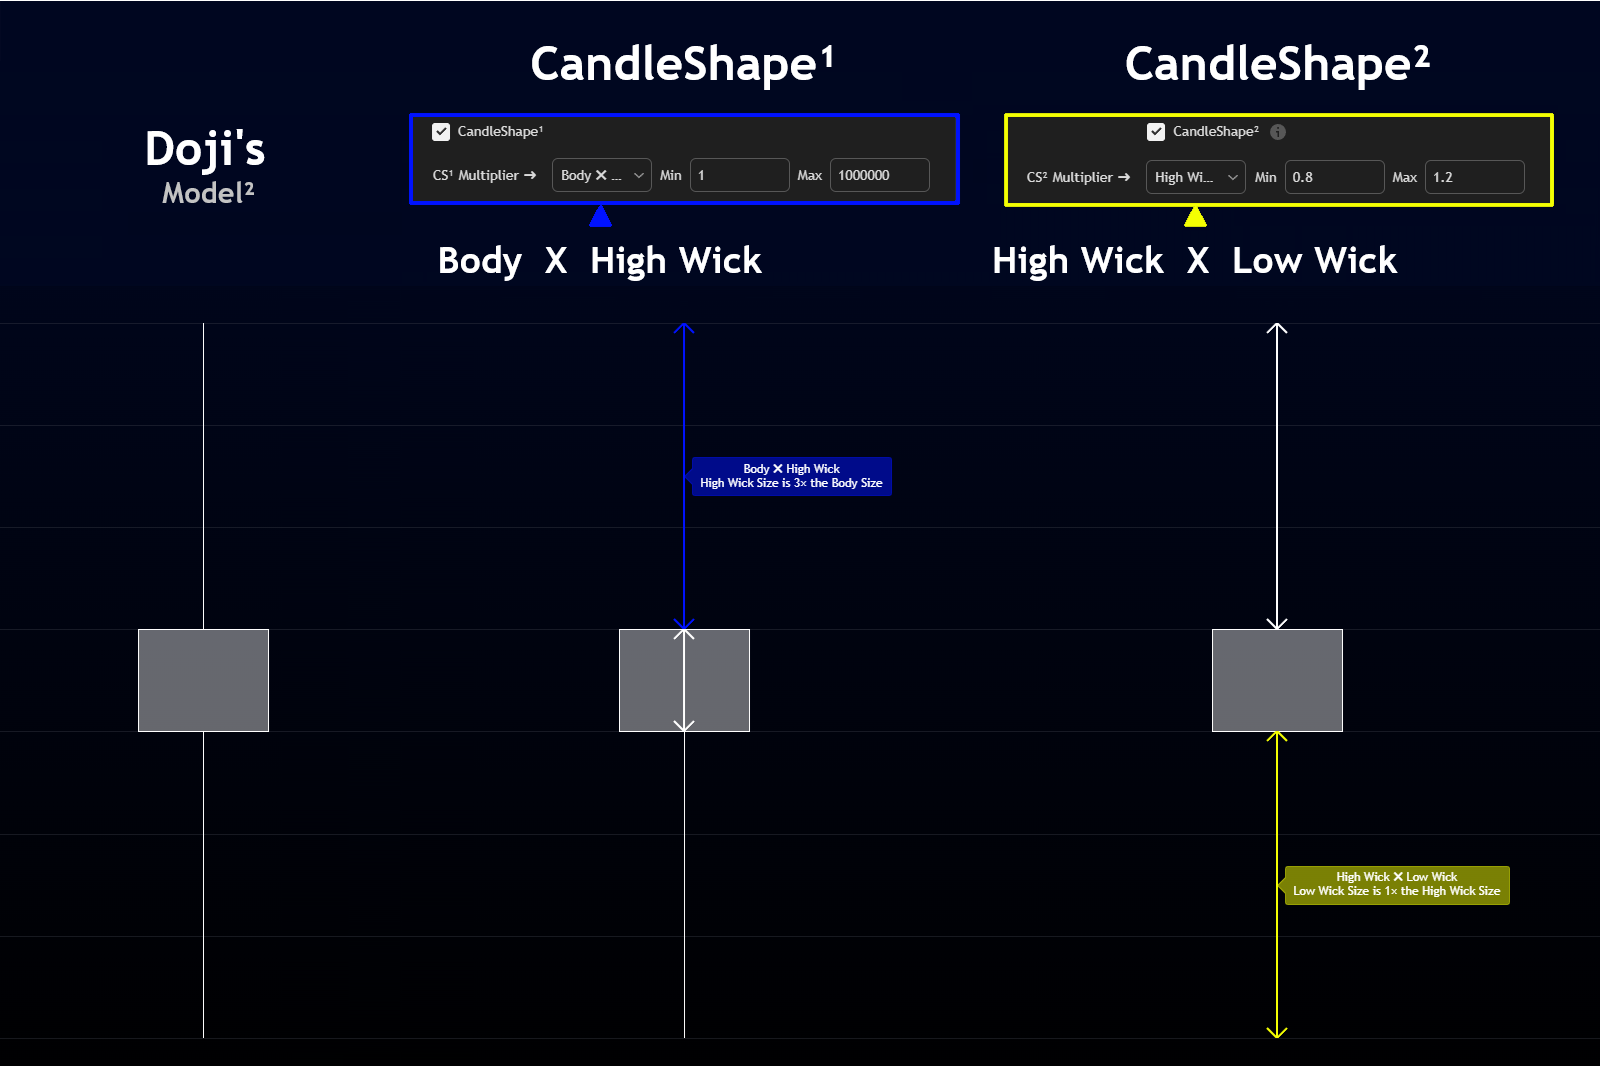
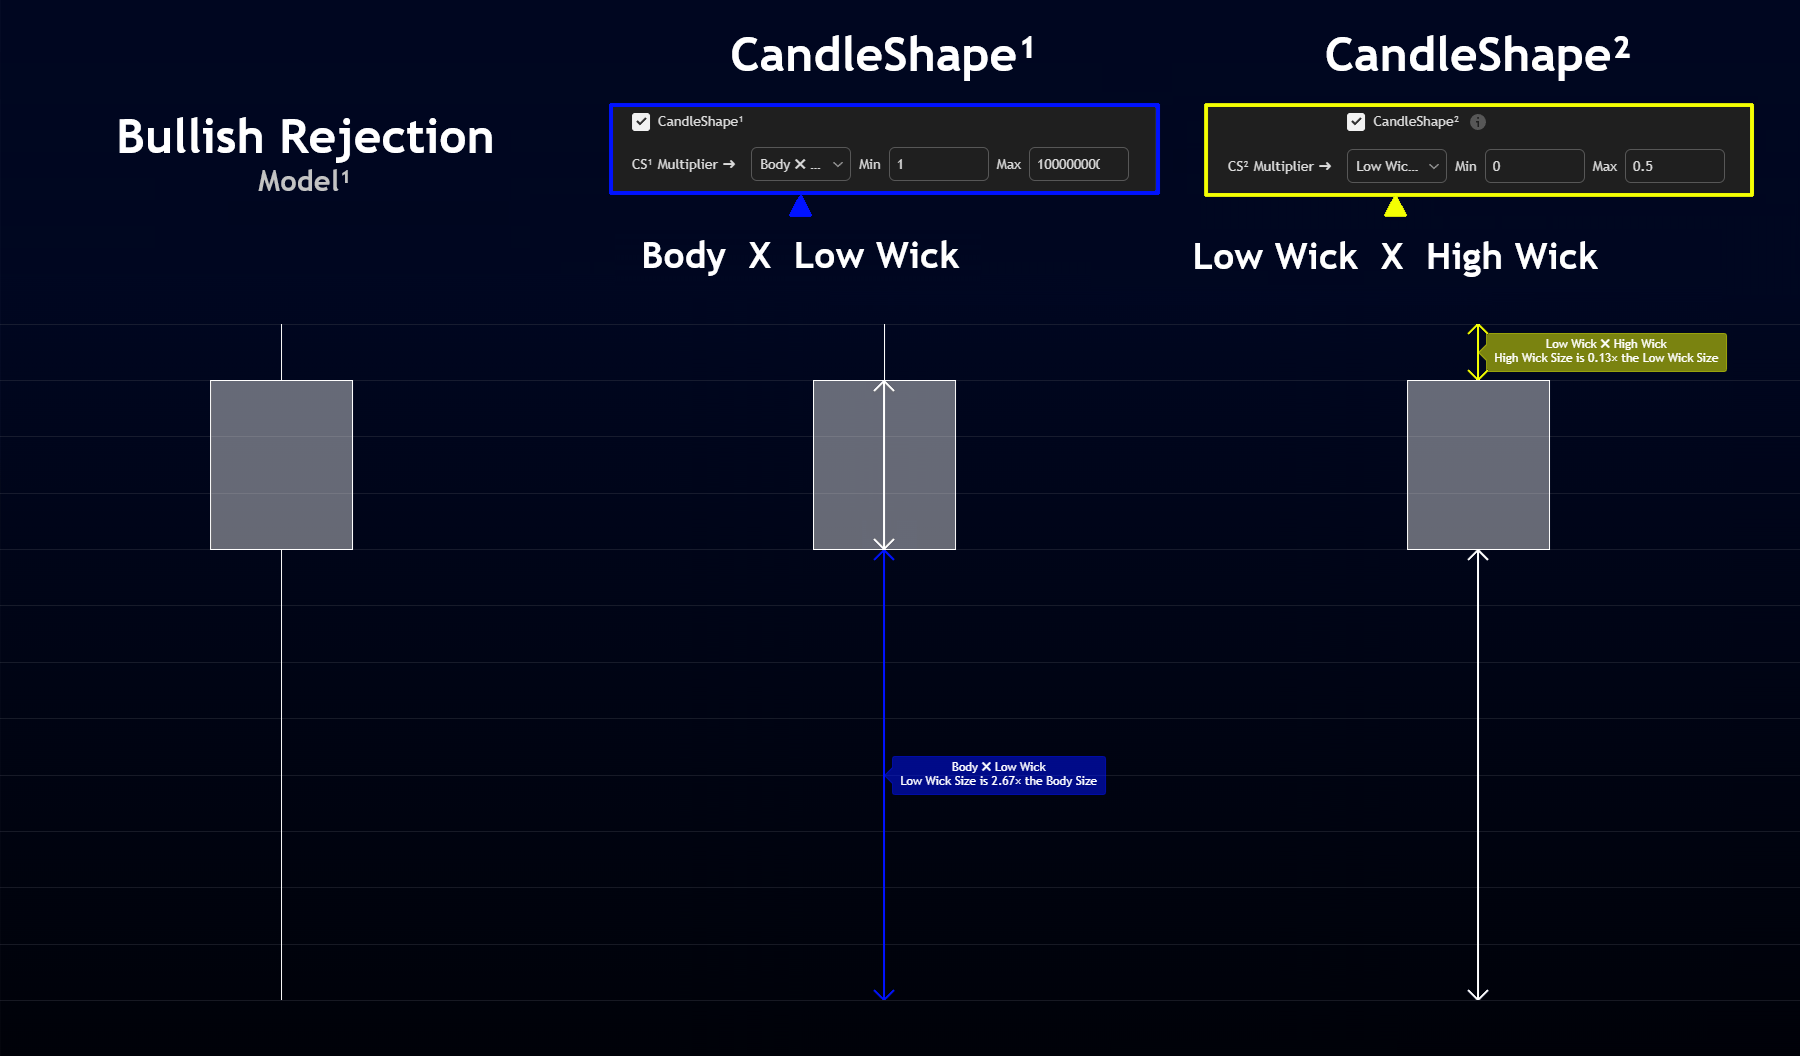
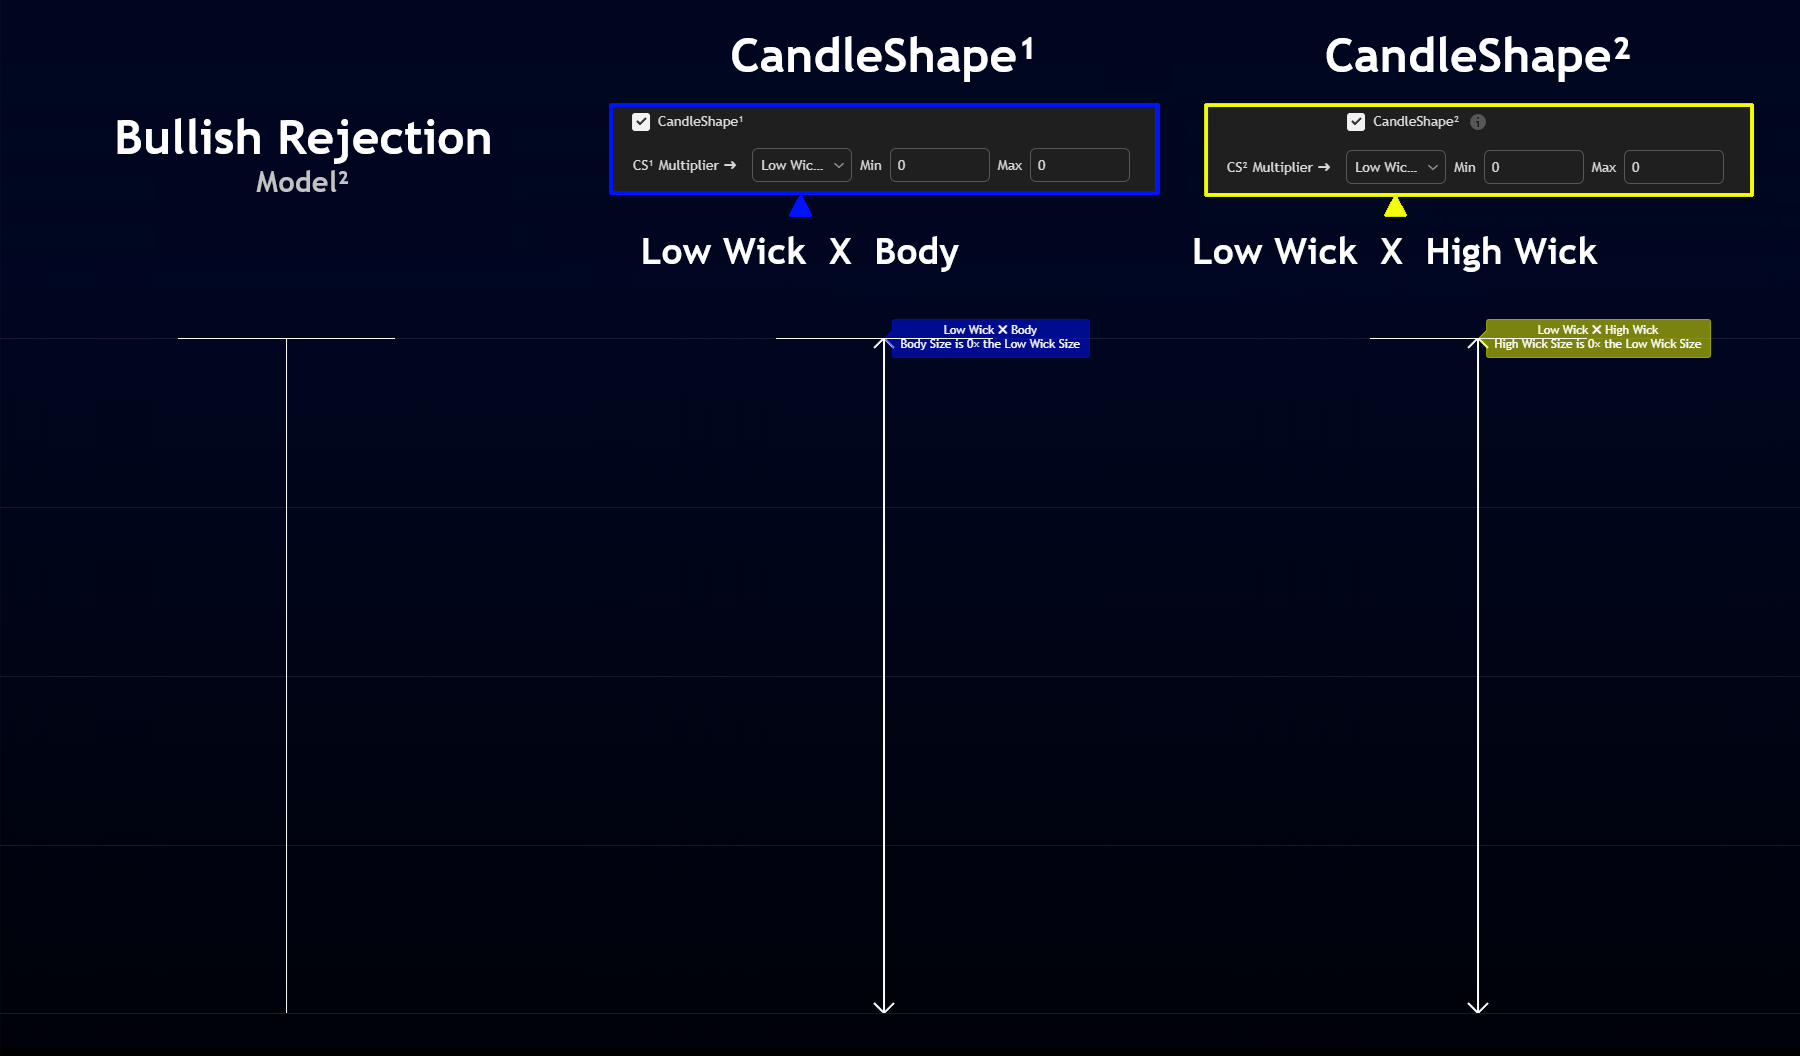
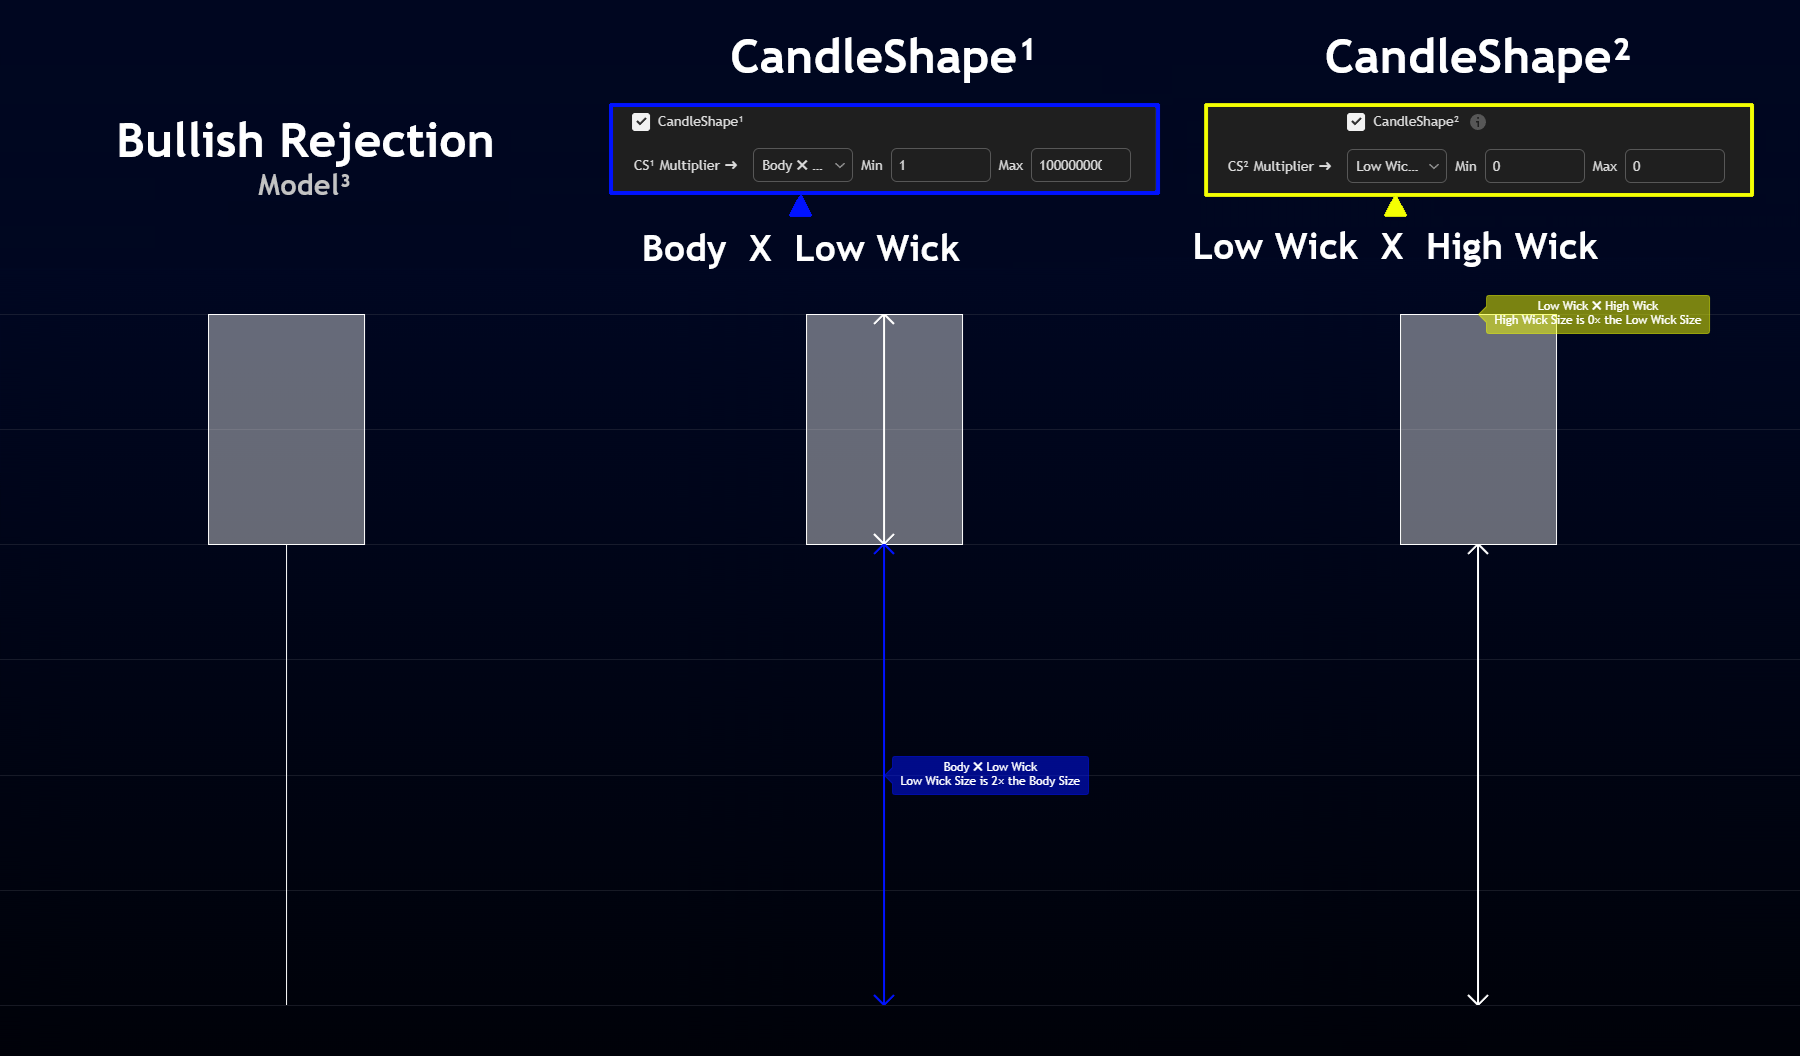
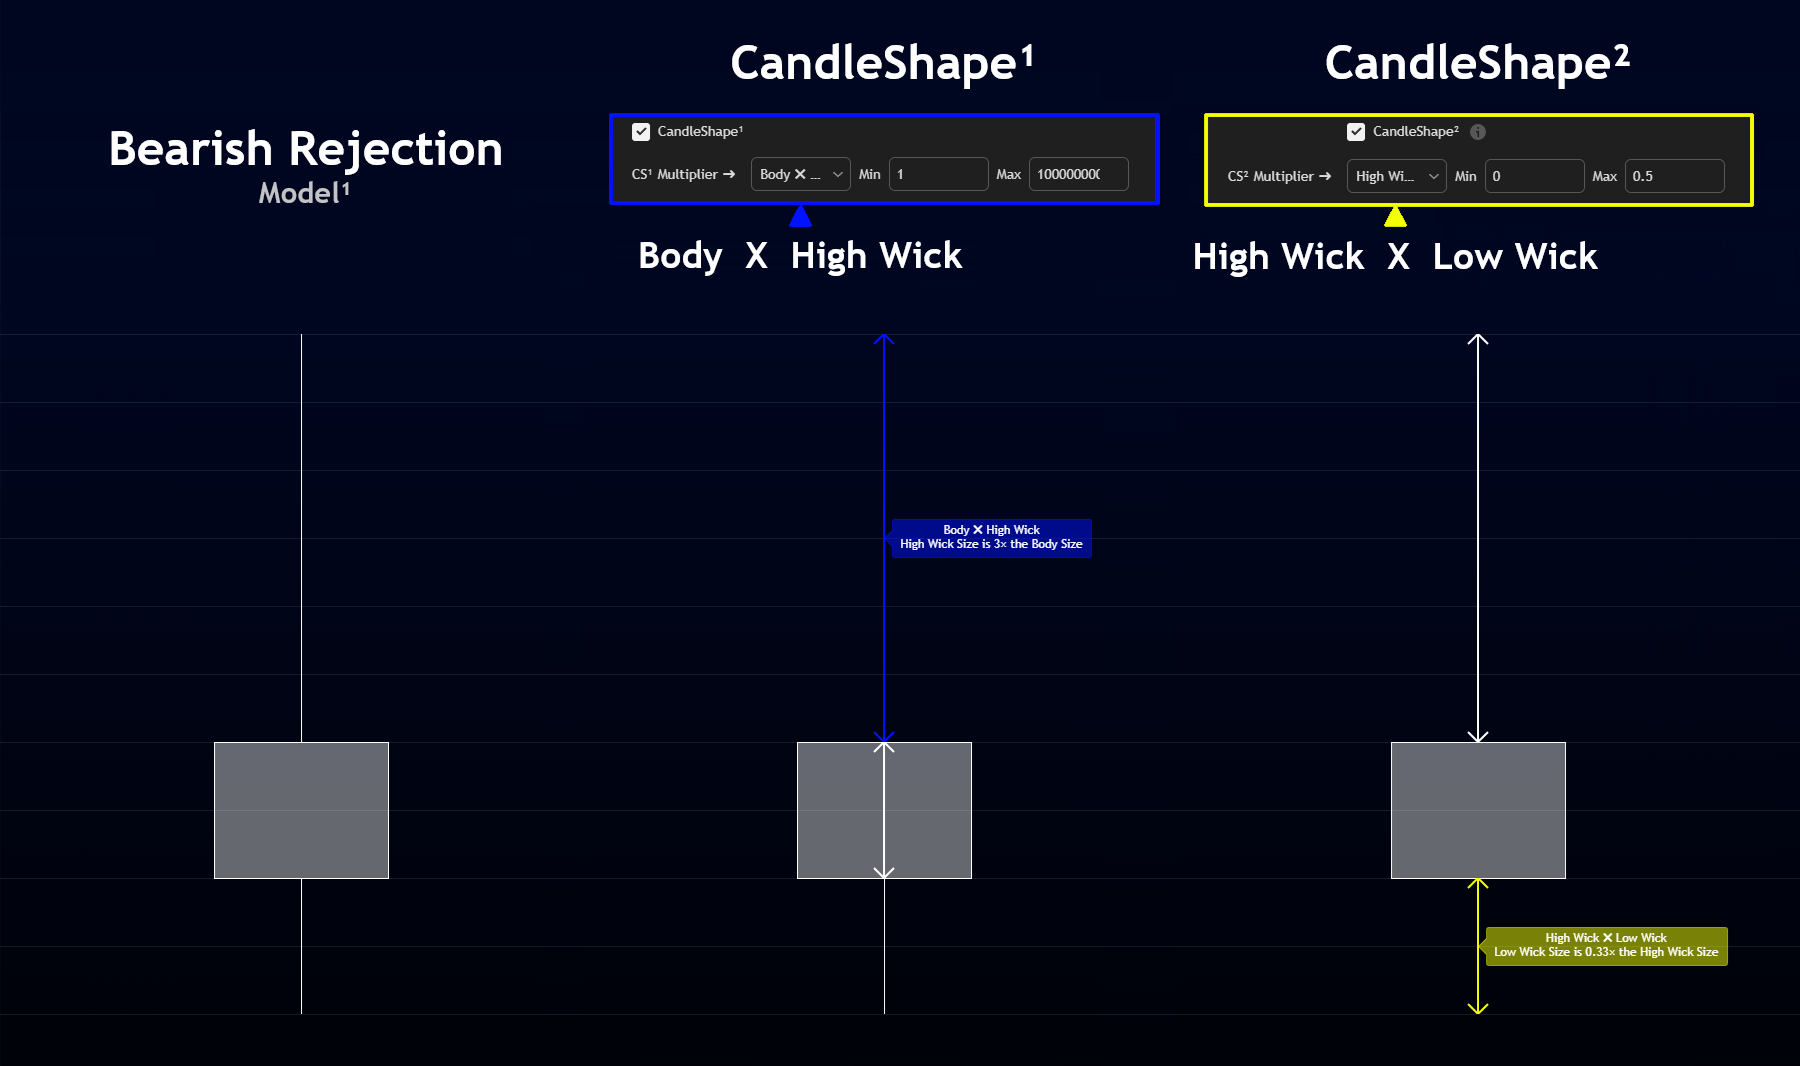
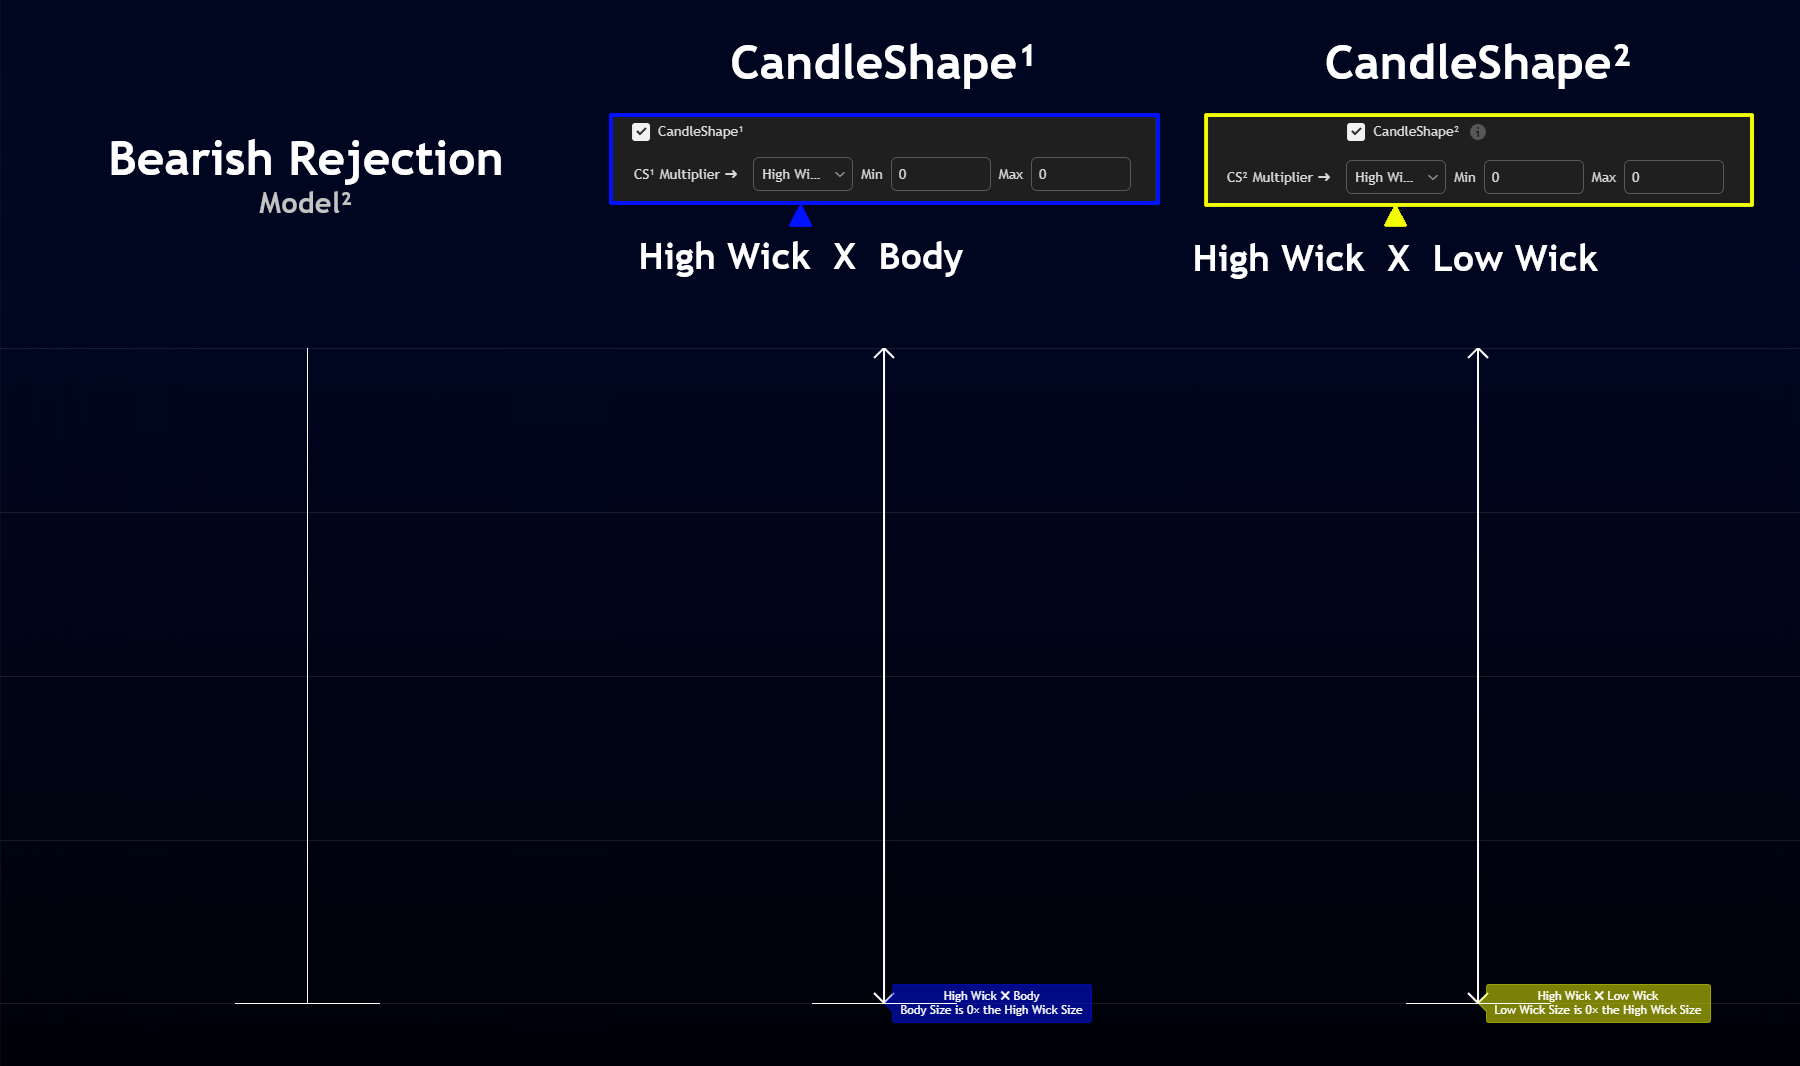
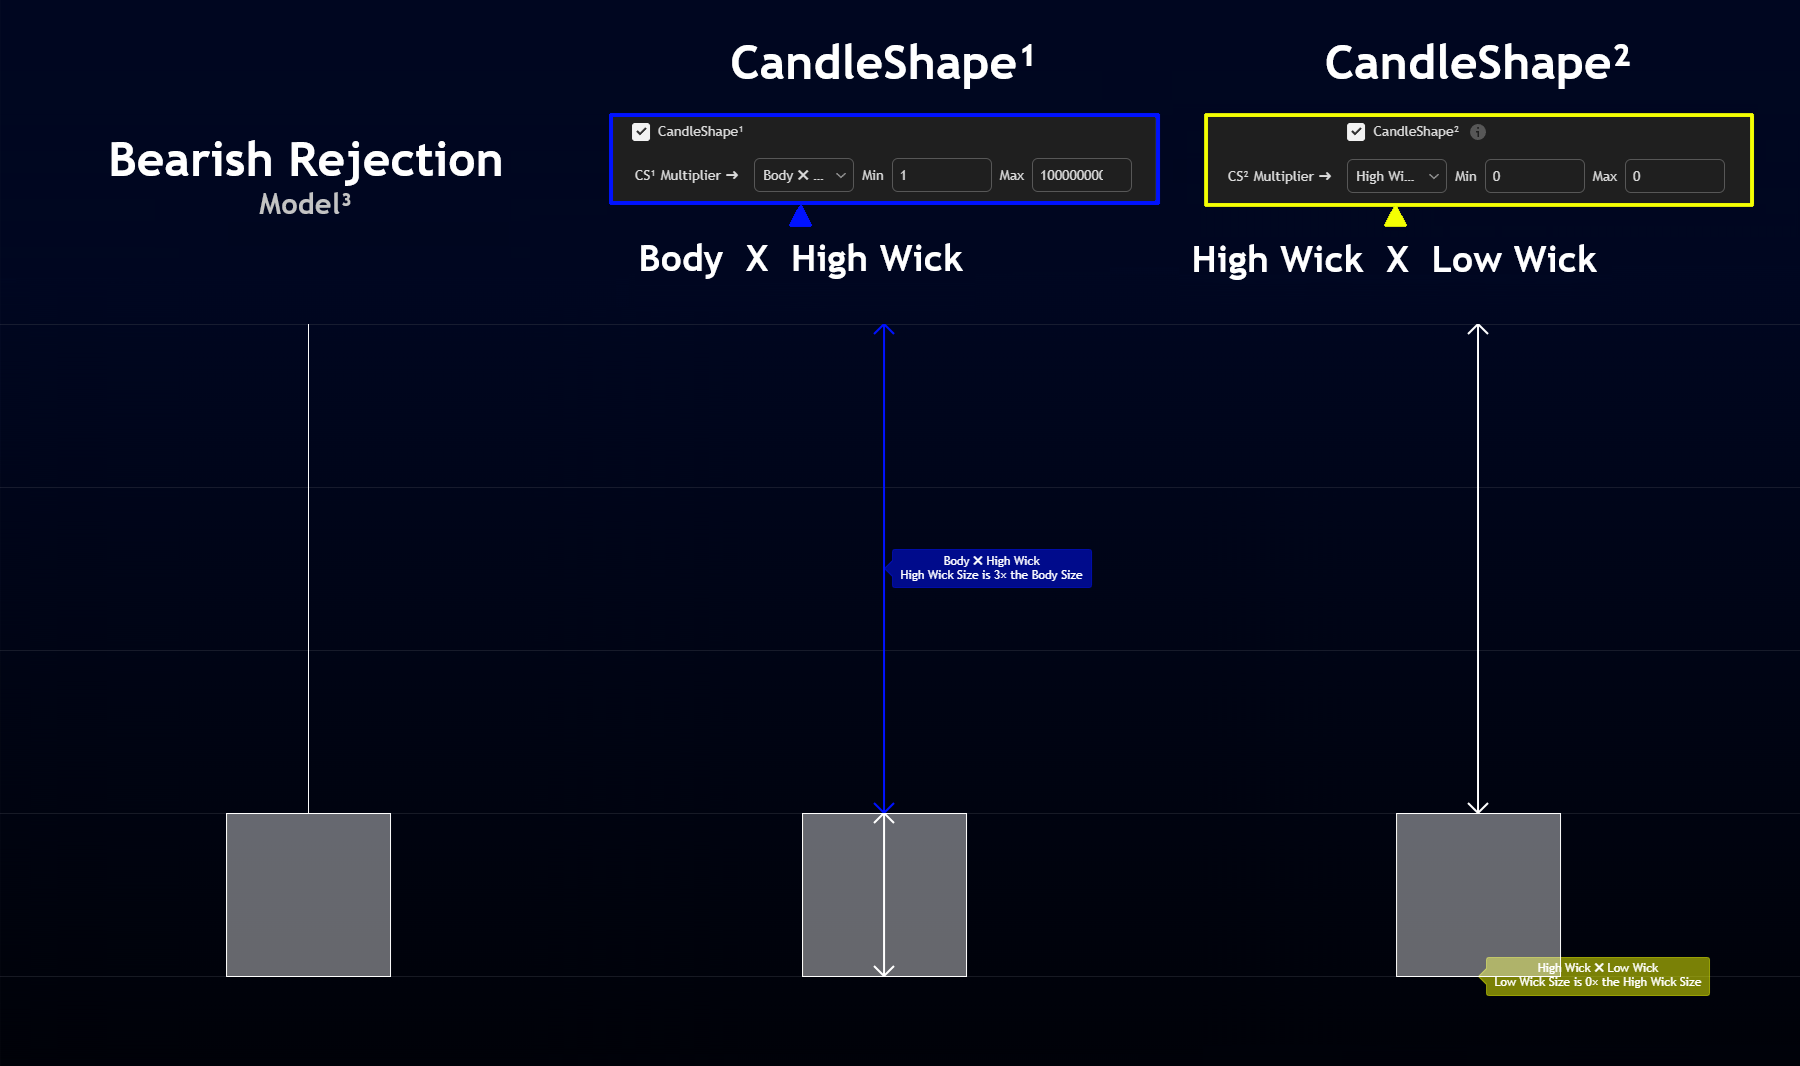
These settings allow you to define any type of candlestick shape — such as a Hammer, Doji, Shooting Star, and many others — by applying a multiplier between different sections of a candle.
These settings lets you compare the size of one candle section (e.g., Low Wick) relative to another (e.g., Body) using a ratio-based condition.
Pairs:
- Body ✖ Low Wick: Requires the Low Wick size to be a multiple of the Body size.
- Body ✖ High Wick: Requires the High Wick size to be a multiple of the Body size.
- Low Wick ✖ High Wick: Requires the High Wick size to be a multiple of the Low Wick size.
- High Wick ✖ Low Wick: Requires the Low Wick size to be a multiple of the High Wick size.
- High Wick ✖ Body: Requires the Body size to be a multiple of the High Wick size.
- Low Wick ✖ Body: Requires the Body size to be a multiple of the Low Wick size.
Strong Body Candlestick Examples
Doji Candlestick Examples
Bullish Rejection Candlestick Examples
Bearish Rejection Candlestick Examples
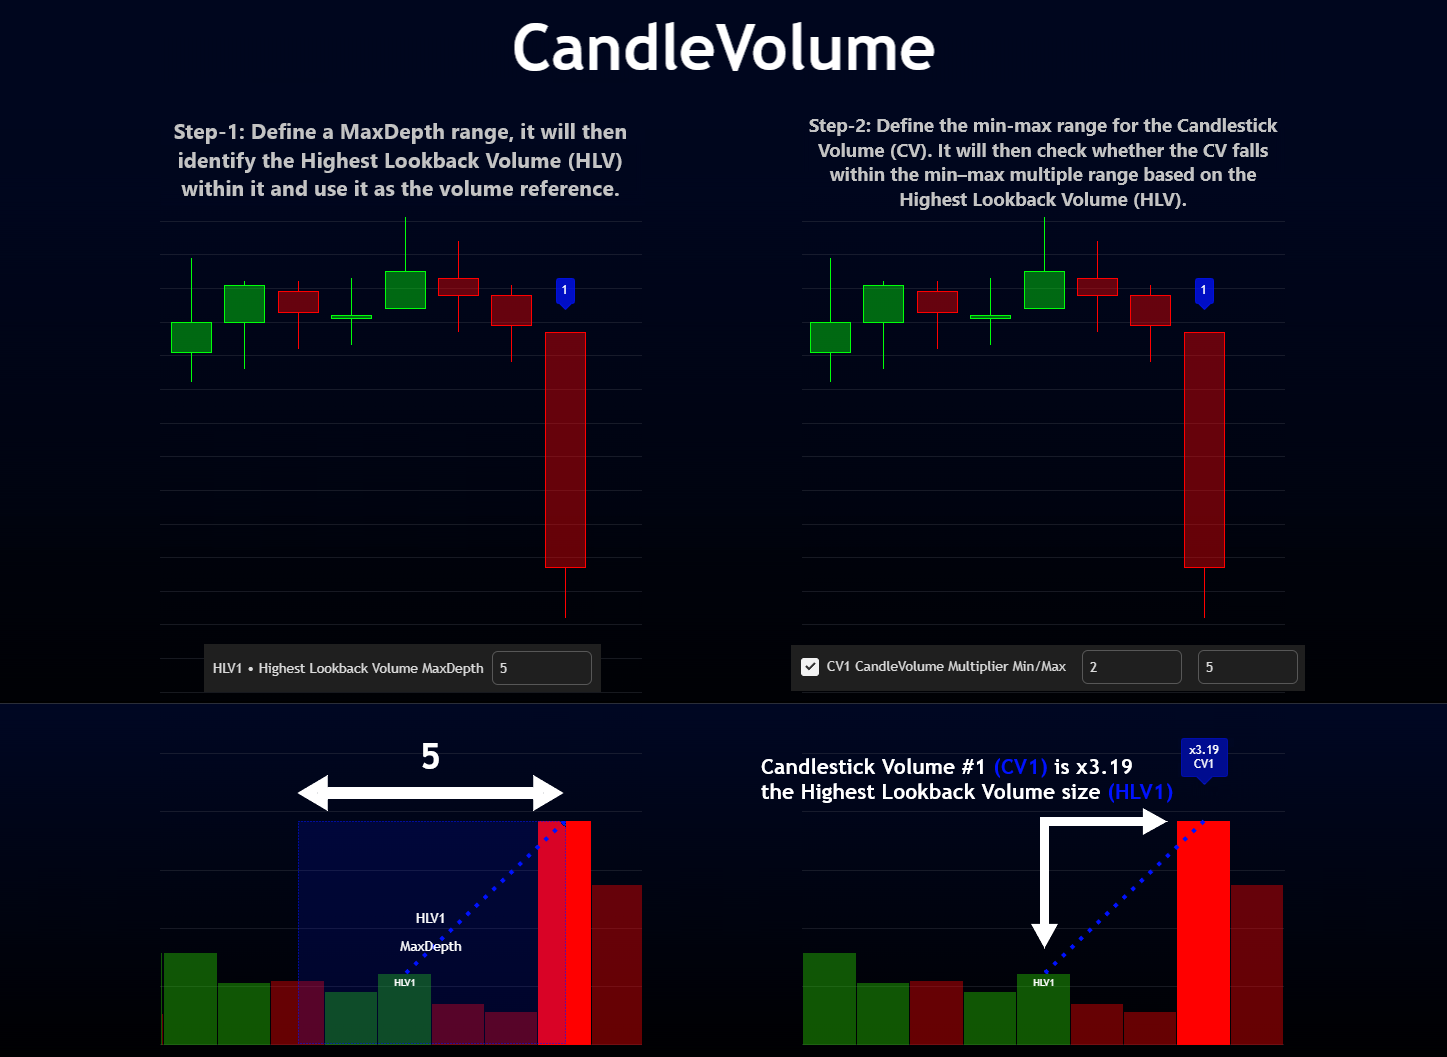
CandleVolume Multiplier (HLV & CV)
Define a precise volume range for your candlestick volume based on the highest volume found in the lookback.\nPerfect to detect strong volume candles or momentum patterns within your setup.
- HLV — Highest Lookback Volume MaxDepth → number of previous volume bars before your candlestick volume used to find the highest volume (as reference).
- CV — CandleVolume Multiplier Min/Max → your candlestick volume must be within the Min/Max range, based on the highest volume found in the Highest Lookback Volume MaxDepth.
